I came across this link to a pattern album by Katsushika Hokusai, most well-known for his “Great Wave off Kanagawa” and his series of 36 “Views of Mount Fuji”. A lot of them are beautiful, and a lot of them are similar to patterns I experimented with when I played with generative art more. Of course, I’m not putting my little games on the same level of artistry as this master’s work, but inspiration can come from anywhere.
One of the patterns especially caught my eye, a simple wave structure seen in the bottom right of this page, and I decided to play with the idea. Not to recreate it, but to see how to achieve a level of texture just through the use of sine waves and oscillating thickness.
Here’s what I came up with as a first sketch.
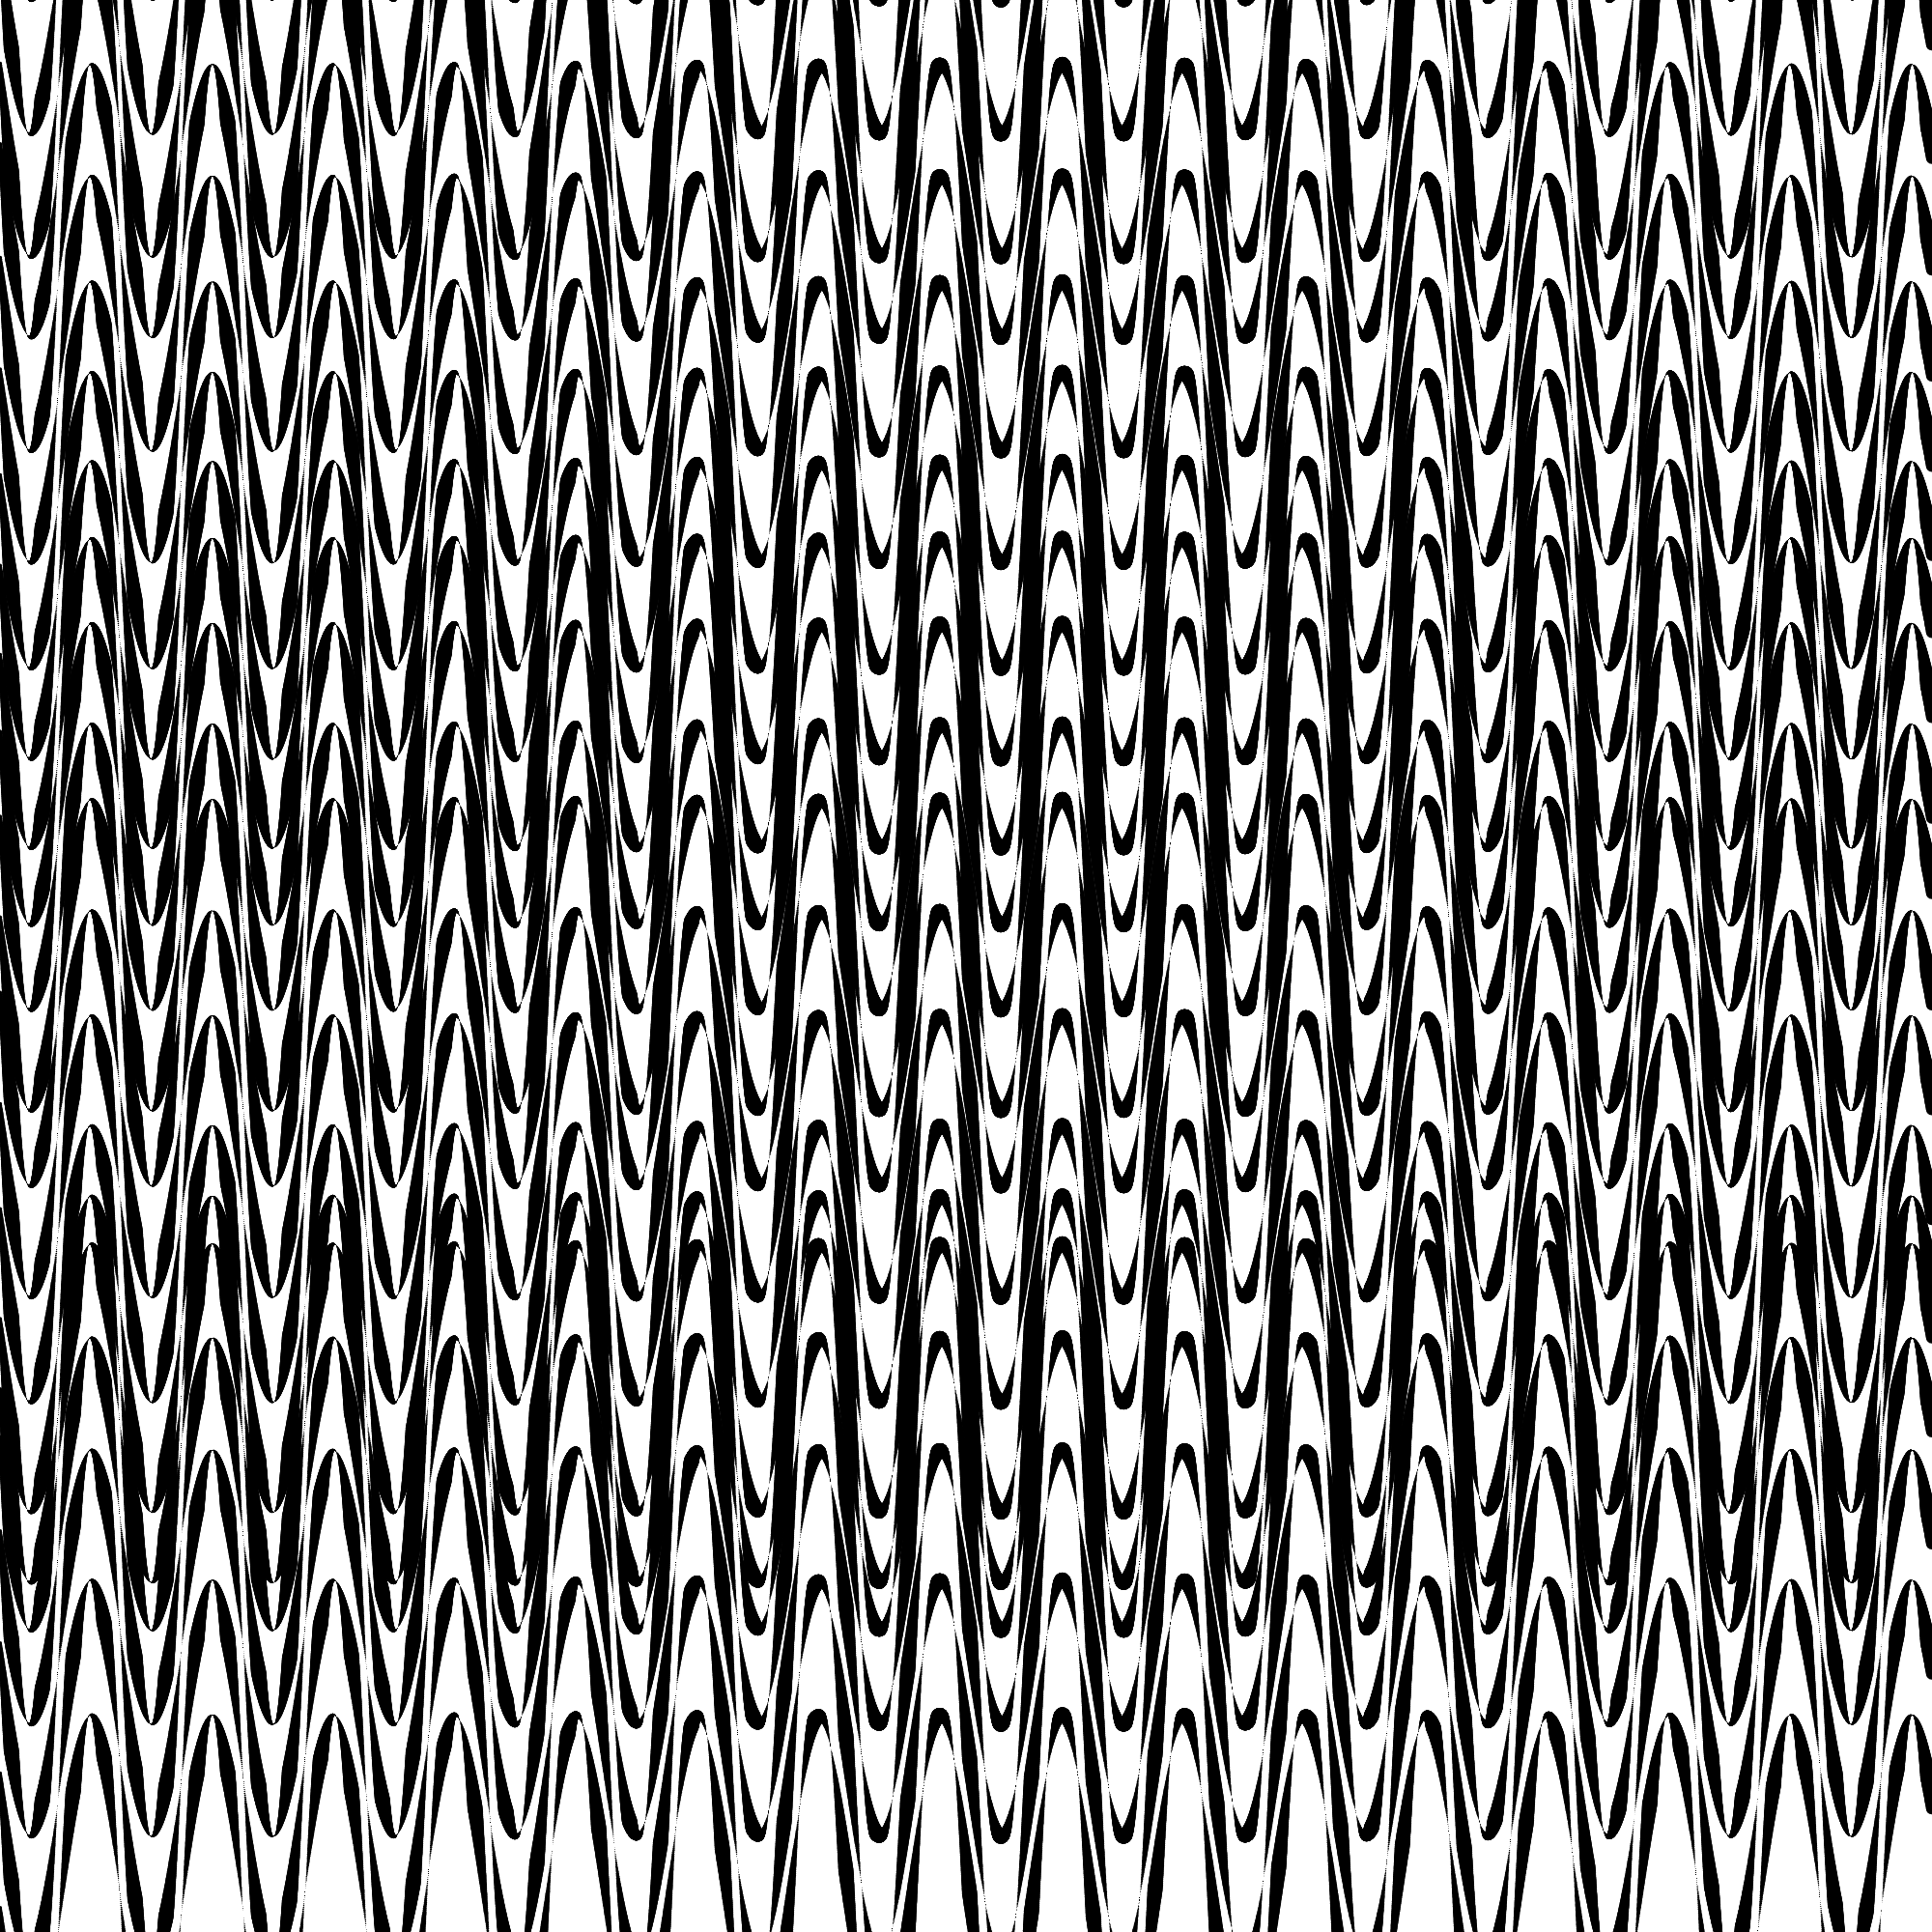 Fig. 1: Texture.
While it isn’t much, I want to talk a little bit about how I
approached it, because I’ve mostly forgotten about the API of p5js, so I just wanted to get
it to work using the point() primitive, which I
remembered.
In this post, we will walk through the process that I walked through, from a first sine wave to beginning to make the texture a bit richer. There is much opportunity to play with this texture, to make it richer and deeper. I encourage you to play with it. The p5js online editor makes this extremely easy, and you can paste the various stages of the code there.
Part I: A sine wave
As a first milestone, let’s remind ourselves how to write code in
p5js and try to build a sine wave.
function setup() {
  createCanvas(1000, 1000);
  background(255);
  stroke(0);

  for (let j = 0; j < 1000; j++) {
    point(j, sin(j));
  }
 }
If we execute this code, we almost get something like a sine wave, just off the top of the screen. Going through the code, we create a canvas of 1000 by 1000 pixels, make a white background, and set black as the stroke color. We then go through a for loop, in which we draw a point for each pixel left to right, and use sine to make the other coordinate (Y axis) wavy (can you tell how much of my calculus vocabulary has vanished in the sands of time?).
To actually see something, let’s shift the wave to the middle of the
screen vertically, and increase its amplitude. To do so, we only need to
manipulate the Y axis with a static addition and multiply whatever
sin() spits out by our desired amplitude.
function setup() {
  createCanvas(1000, 1000);
  background(255);
  stroke(0);

  for (let j = 0; j < 1000; j++) {
      point(j, sin(j)*10+500);
  }
}
If we do this, however, the wave gets noisy because the sampling rate
is too low. To rectify this, we increase the number of samples by
increasing the number of iterations in the for loop, while
simultaneously “squishing” (i.e. dividing) the X axis and the input to
sin() to fit.
function setup() {
  createCanvas(1000, 1000);
  background(255);
  stroke(0);

  for (let j = 0; j < 10000; j++) {
      point(j/10, sin(j/10)*10+500);
  }
}
We tweak the numbers a bit, increasing the amplitude. By only
compressing the input to sin(), we change the wave’s
frequency.
function setup() {
  createCanvas(1000, 1000);
  background(255);
  stroke(0);

  for (let j = 0; j < 10000; j++) {
      point(j/10, sin(j/100)*100+500);
  }
}
Part II: More sine waves, and oscillation
From here, the course is clear: more sine waves, so the offset has to
be modulated by another for loop (the attentive reader
might have guessed that this is why the loop variable is called
j instead of the more traditional i).
function setup() {
  createCanvas(1000, 1000);
  background(255);
  stroke(0);

  for (let i = -100; i < 1000; i += 20 + random(50)) {
    for (let j = 0; j < 10000; j++) {
      point(j / 10, sin(j / 100) * 100 + i);
    }
  }
}
Randomness is making its first appearance. Let’s look at the addition
of the loop more closely. Firstly, we start at -100 instead
of 0, to make sure that we get waves from top to bottom
instead of too much white space at the top (try setting it to
0 to see the difference). We also add some randomness to
the space between the waves to get a first splash of perceived
organicity to our masterpiece, since perfect spacing is dull.
From here, we need to add the thickness change in the stroke. For
this, I chose another totally manual and stupid approach because it was
easiest. We introduce a variable for weight w, and a
variable for thickness change d. Every so often, we flip
d, which makes the stroke weight oscillate.
function setup() {
  createCanvas(1000, 1000);
  background(255);
  stroke(0);

  for (let i = -100; i < 1000; i += 20 + random(50)) {
    let w = 10;
    let d = 1;
    for (let j = 0; j < 10000; j++) {
      if (w % 80 == 0) d = -d;
      w += d;
      strokeWeight(w / 10);

      point(j / 10, sin(j / 100) * 100 + i);
    }
  }
}
And that’s all we have. The final code is here.
Part III: Independent play
From here, we can explore more ideas. Here are a few examples:
Right now, the stroke weight change is more or less deterministic in both speed and amount of increment. Can we add a bit of tasteful non-determinism there?
All the waves have the same amplitude. How can we play with this a bit without them smudging too much?
Can we play with colors?
I’m sure you have more!
Here is an example of what playing with many different parameters at the same time could look like:
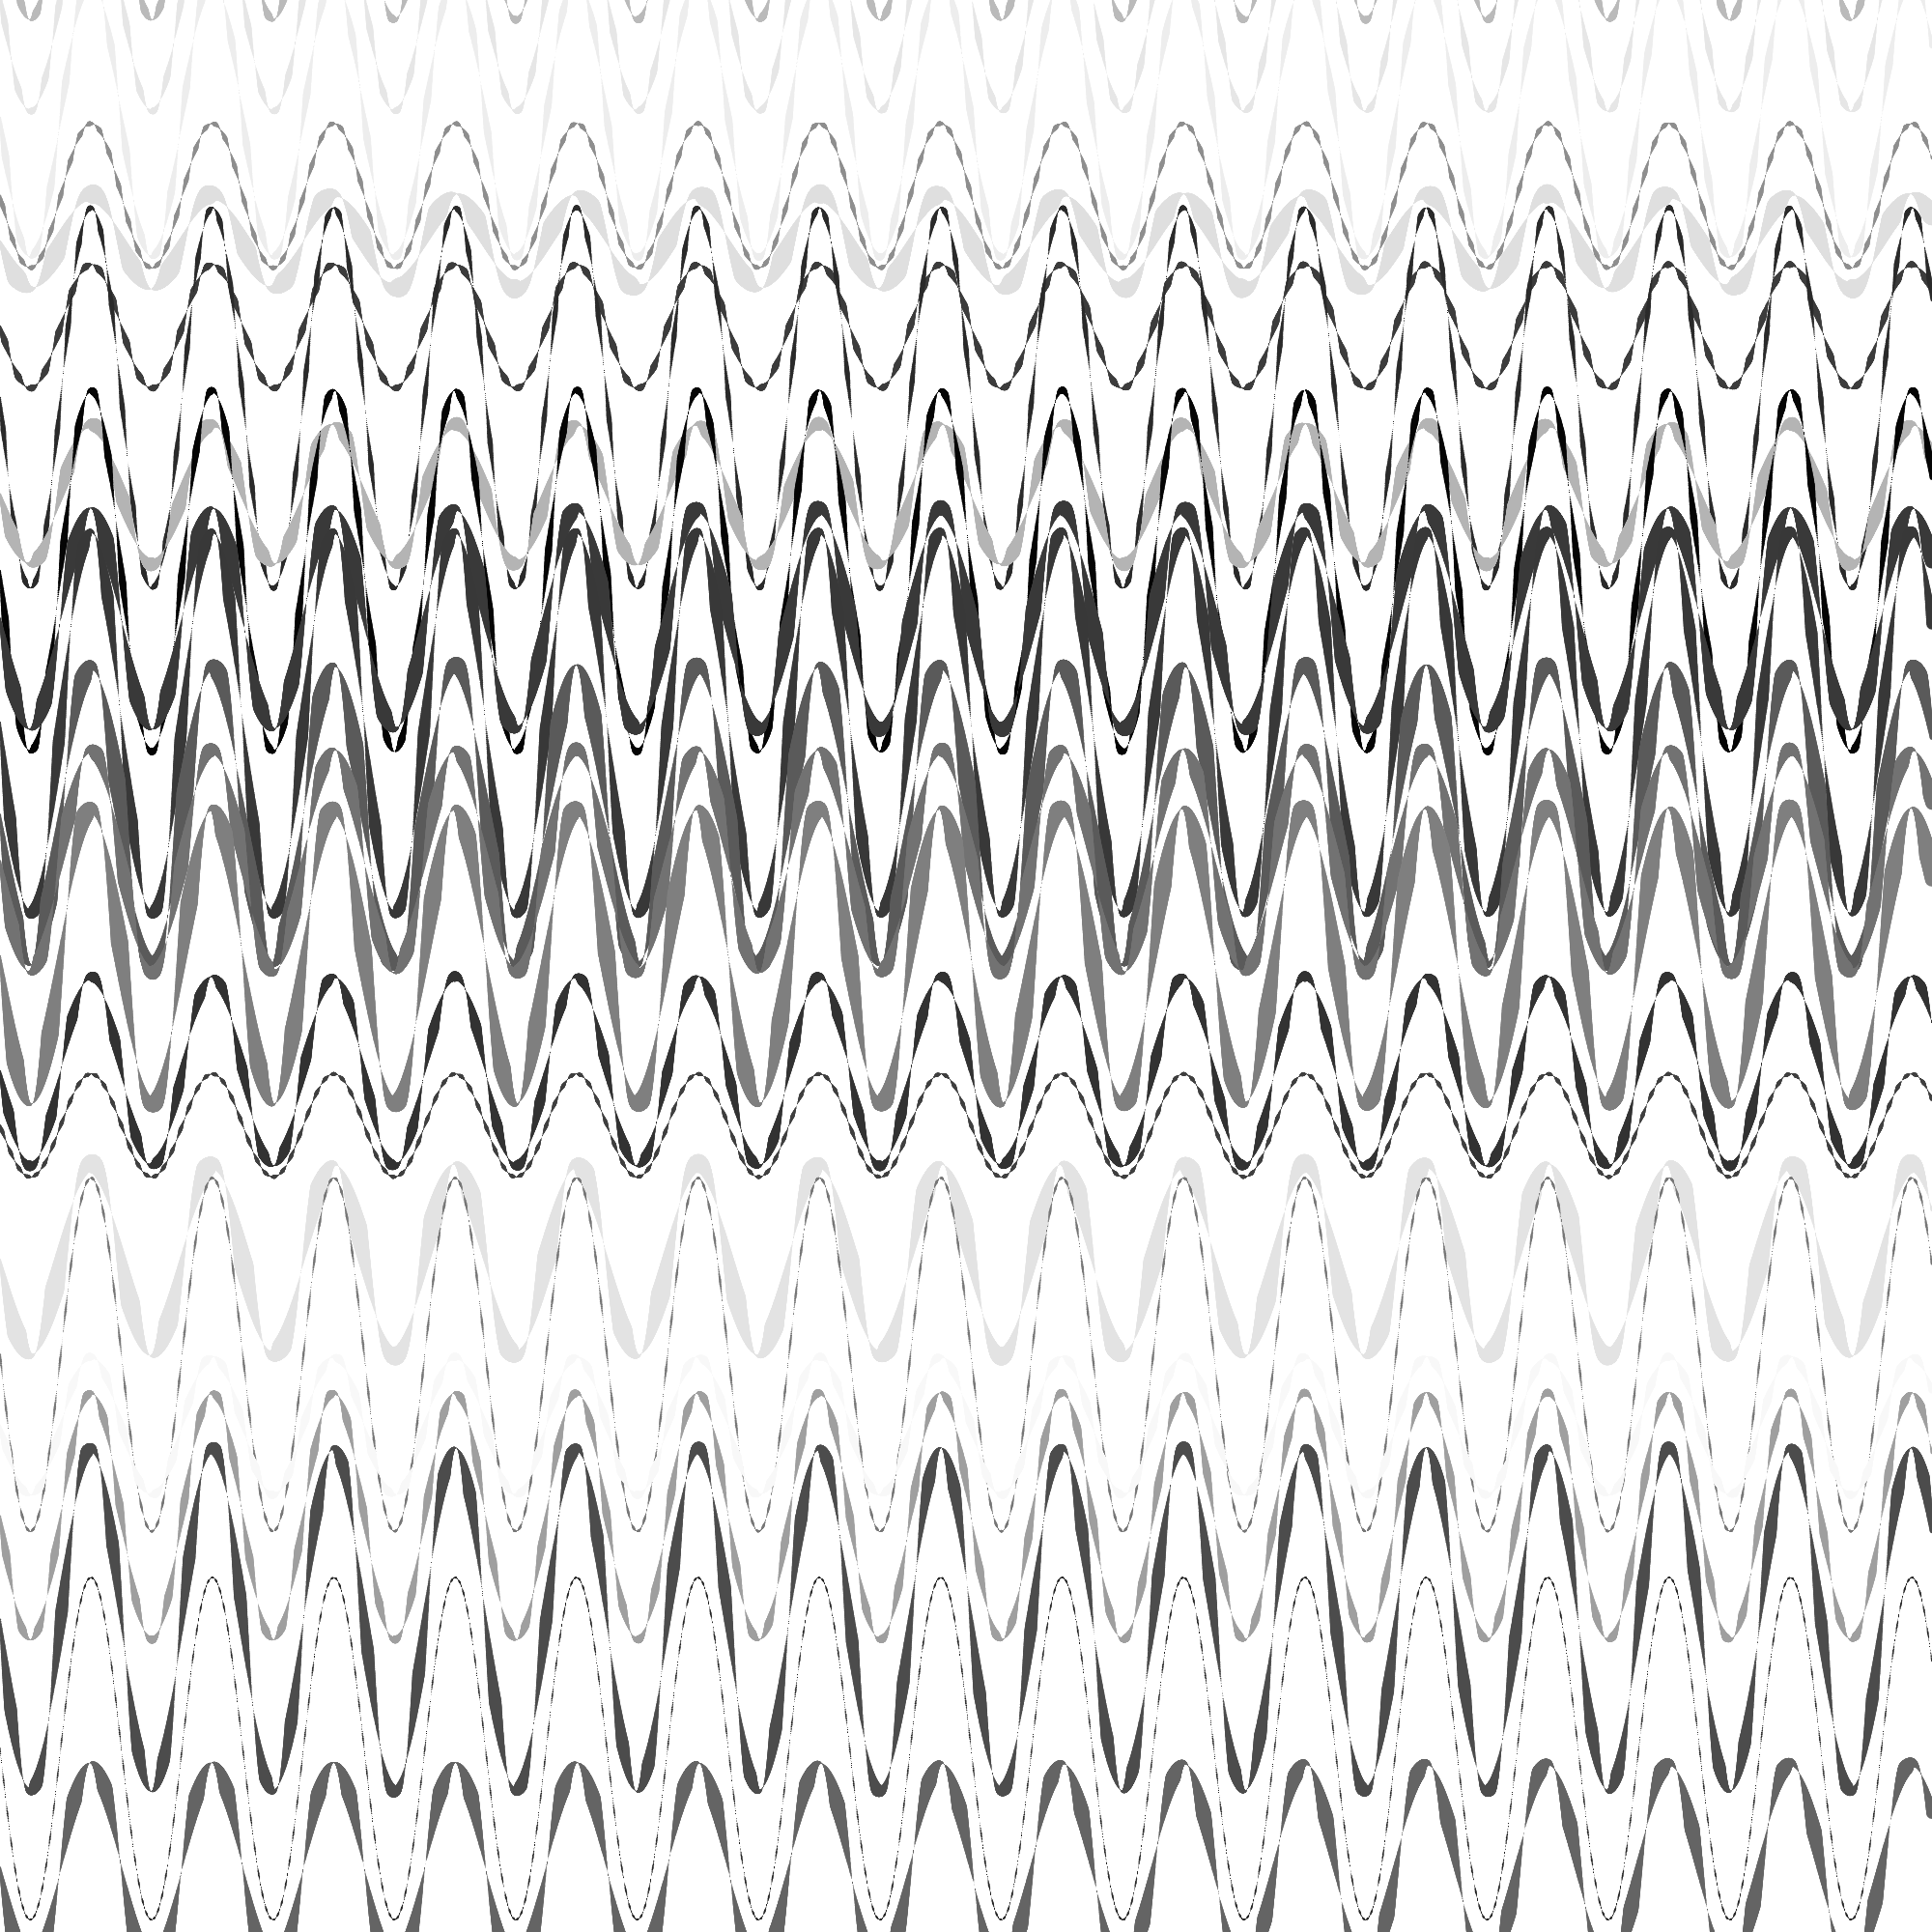 Fig 2: A different
texture.
Fig 2: A different
texture.
Definitely a very different feel, and not necessarily what you want aesthetically, but it might be worth exploring anyway!
Fin
I don’t usually have time to create generative art anymore these days. Every other year or so, I make a private set of books of poems and artworks for my family, but that’s about it. It might sound like a lot, but 20-25 poems and 10-15 artworks really isn’t that much artistic output in over a year.
Nonetheless, I like flexing that muscle sometimes to keep it active, so I can make sure it won’t atrophy completely. I invite you to do the same; play can be very serious business!