As most of my readers will probably know, at my day job, I help develop Glamorous Toolkit. And, I’m proud to say, after two years of working on and within it, it has thoroughly infected my computing life. I rarely work in the terminal anymore. I don’t even miss it. In fact, when I go back, it feels a bit like I am transported back into a pre-historic age.
But I didn’t write the first blog post in almost a year to sing the praises of a tool that many of you probably haven’t tried and a reasonable portion probably will never try. I’ve come to talk about how I now write my blog posts from within Glamorous Toolkit.
Act I: Lepiter
Glamorous Toolkit comes with a knowledge management system called Lepiter. It is not unlike Roam Research or even Jupyter notebooks, except that it is moldable . That means that users can extend it to house their own types of content and snippets. Like in a Jupyter notebook you can interleave code and text. But unlike a notebook, I can easily extend it to house arbitrary snippet types, for instance YouTube video embeds. It is a fun environment to write, think, and work in. Most of our new code gets its start as a Lepiter document, where we play in snippets and add views until the code base has formed, almost as if by accident. It is hard to describe, but I was thinking to do a live-coding session or two when I find the time.
Anyway, Lepiter gives me the first step for a publishing tool. I have the document. Now I just need to export it.
Luckily we’ve lately been working on a solid HTML exporter that is now good enough to export all kinds of documents. With it, I might be able to publish this blog post. Let’s see how we could do it.
Act II: HTML
From here on out, this blog post will be a literal document. In fact, it’s starting out that way as I write: I’m writing my blog post, and at the same time I’m writing the code to export that blog post. First, I need to get to the page.
page := thisSnippet page
In the snippet above, I refer to the snippet I’m programming in. It is bound to the variable thisSnippet. Every snippet refers to its page, so I get that, and save it to a variable.
Now we need a few housekeeping things.
sequencer := LeExportUUIDSequencer new
The sequencer gives us IDs to use for the pages and assets we generate.
pageLinks := LeExportPageLinksBuilder new
		database: page database;
		html;
		sequencer: sequencer;
		build;
		links
This page doesn’t link to any other pages, but our exporter doesn’t know that, so we need a bulder for these links. It will collect all the links we need for the page to work. In our case, it will only contain one page link: the one to the page we are working with.
ourPageLink := pageLinks
		linkForPage: page
		ifFound: #yourself
		ifNone: [ self error: 'This should not happen' ]
This is the link I just described, the link to the page we are currently on.
aContext := LeHtmlContext new
		page: page;
		pageLinks: pageLinks;
		date: (Date today printFormat: #(1 2 3 $/ 1 1));
		sequencer: sequencer
Now we can generate a context that has all the information we need to generate the HTML. Ignore the date format, it’s a bit obscure (I wanted it to print dd/mm/yyyy, and the formatter uses an interesting input format). The boilerplate has an end.
anExporter := LeHtmlPageExporter new
		context: aContext;
		piece: (LeHtmlGtBookPiece
				fromFile: FileLocator imageDirectory / 'pharo-local' / 'iceberg' / 'hellerve' / 'blog'
						/ 'le_layout.html')
In the image in which I’m writing this, I’ve already loaded the Git repository for my blog (you can find it on Github). In it, there is already a layout file I can use for the exporter. It looks a bit like a Mustache template, and it is already a HTML file.
We now have an exporter. Let’s make it export.
htmlString := anExporter contents
Beautiful! We now have HTML. But what about embedded images and other goodies?
Act III: Resources
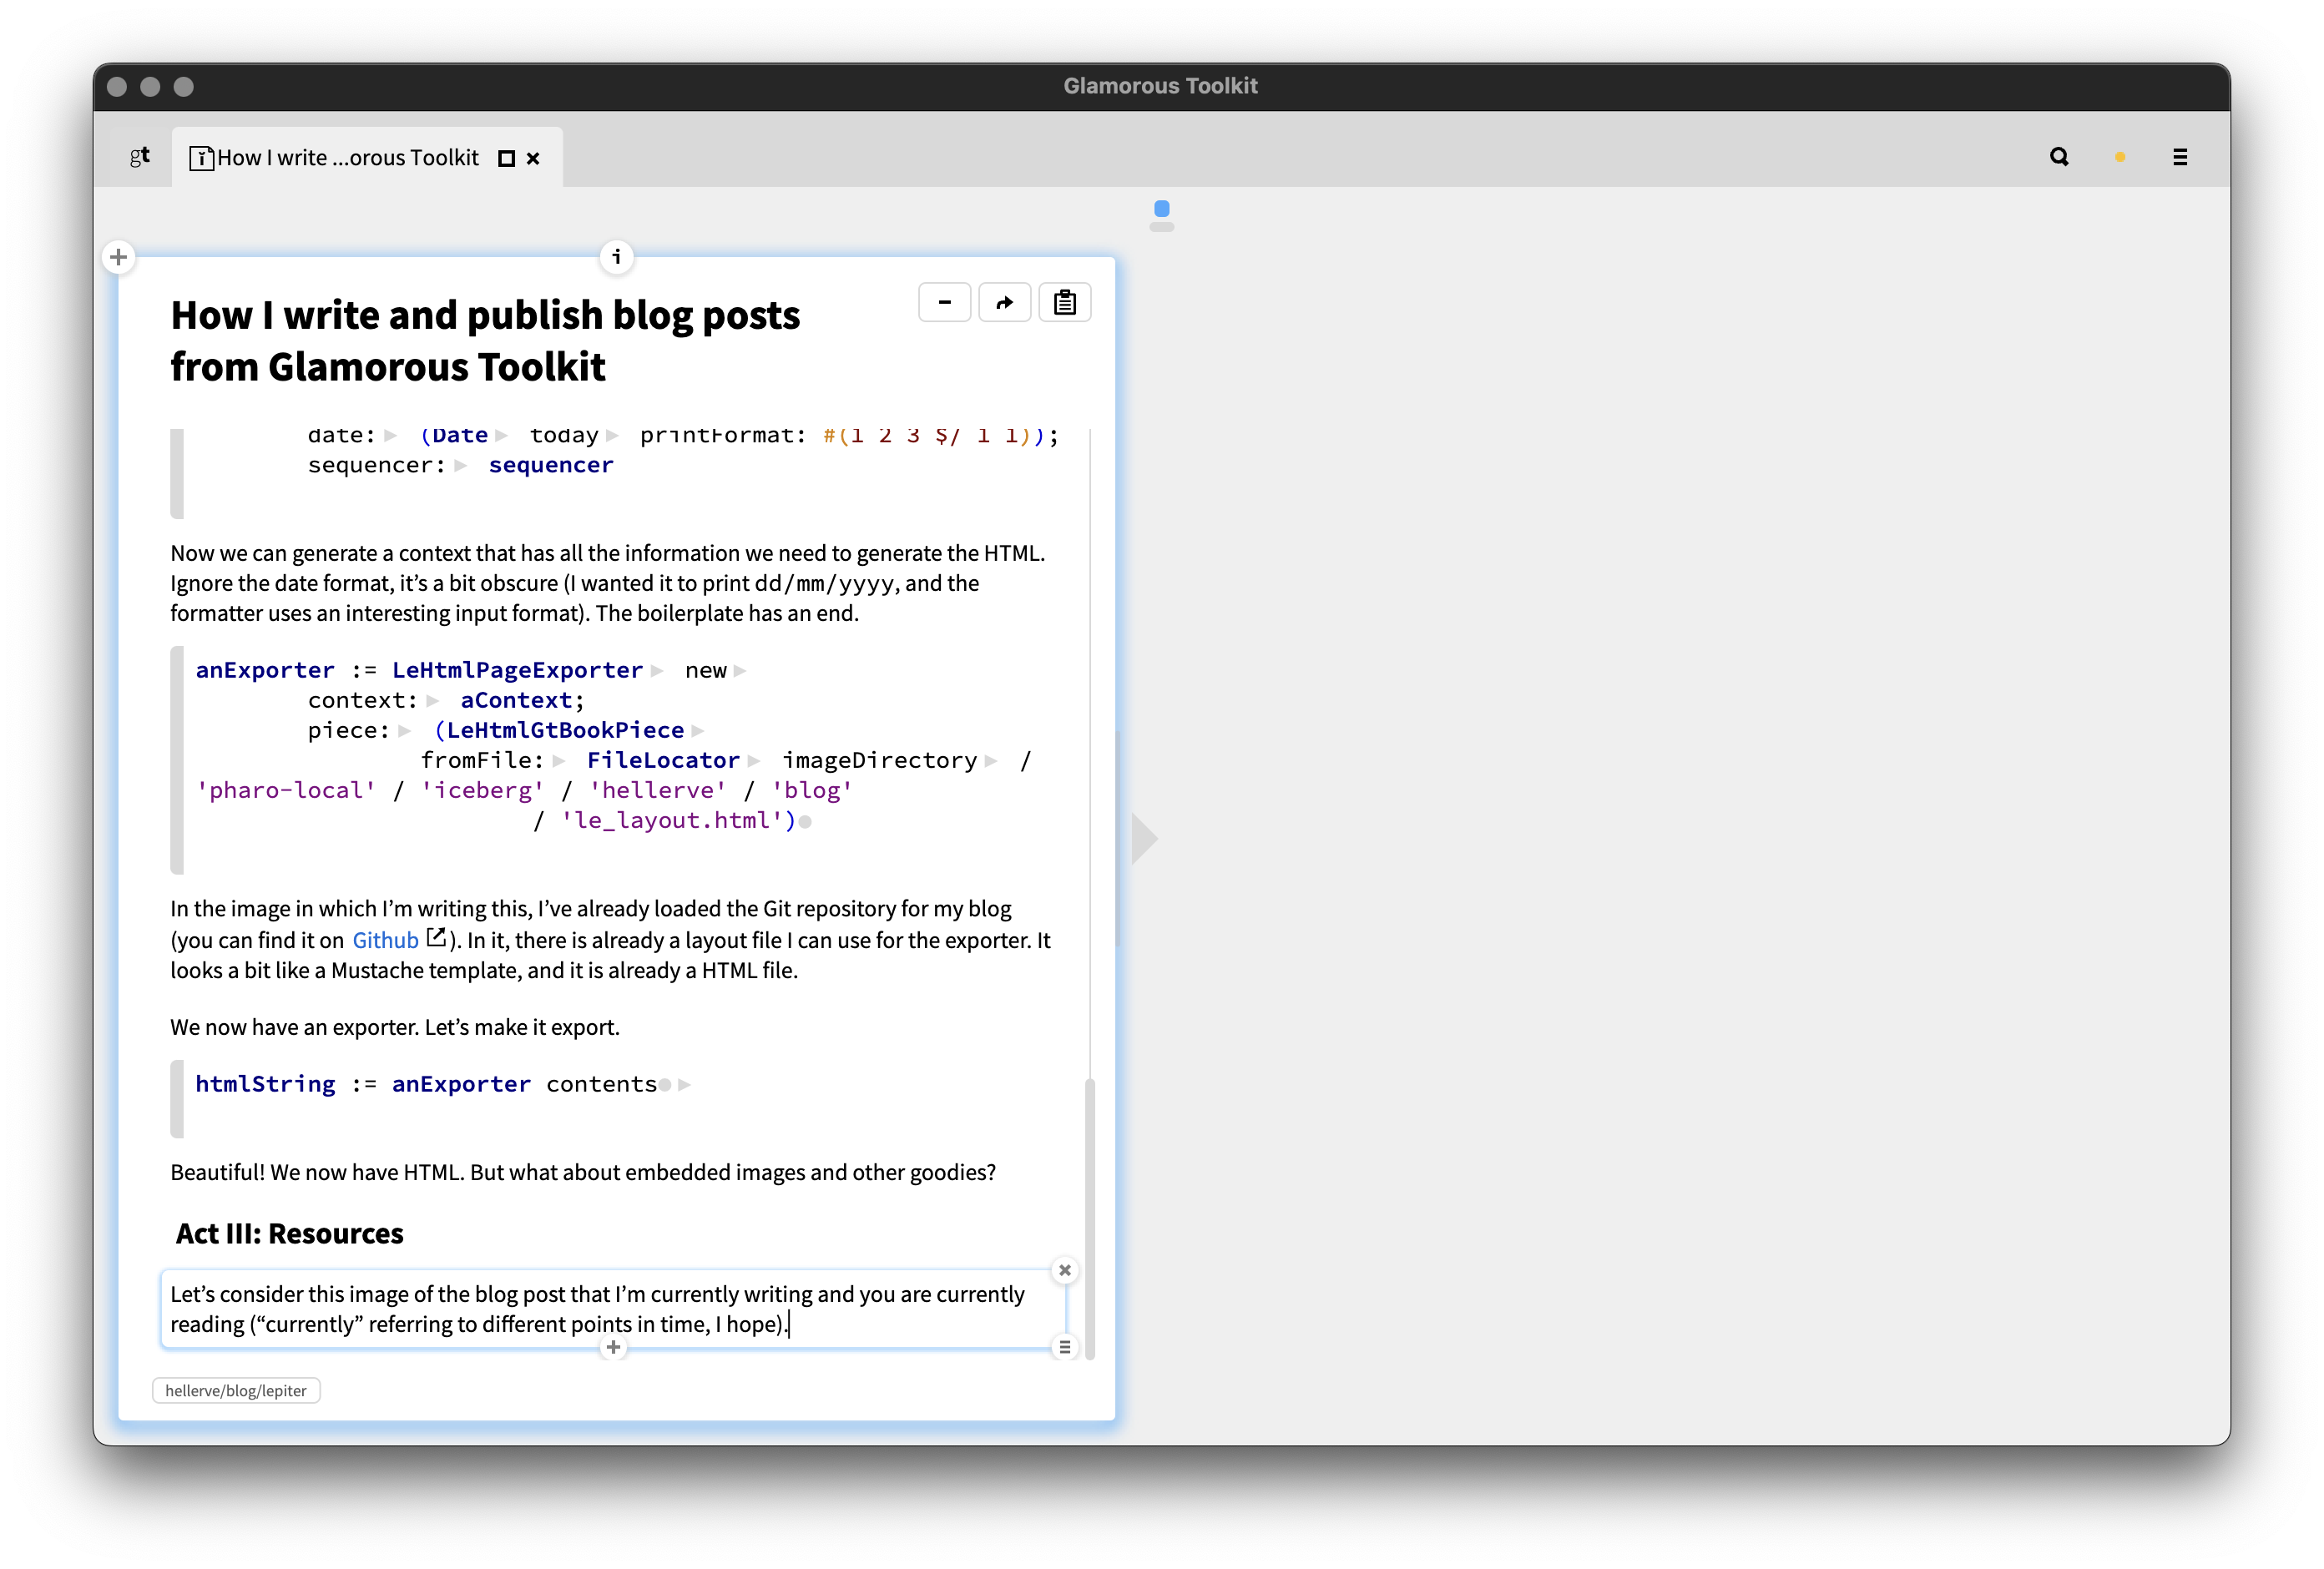
Let’s consider this image of the blog post that I’m currently writing and you are currently reading (“currently” referring to different points in time, I hope).

How do we get it to be exported as well? Luckily for us, the answer is that the context is already holding onto all the resources we need for us.
aContext resources
From here, we can save these resources in a directory. My blog repository already has a directory for them, so we dump them there.
aContext assembler assemble.

LeExportResourcesDirectorySaver new
	resources: aContext resources;
	rootDirectory: FileLocator imageDirectory / 'pharo-local' / 'iceberg' / 'hellerve' / 'blog';
	save
And that’s it! All we have to do is write the blog post to a HTML file.
FileLocator imageDirectory / 'pharo-local' / 'iceberg' / 'hellerve' / 'blog'
	/ ((page title asString copyReplaceAll: ' ' with: '_') , '.html')
	writeStreamDo: [ :aStream | aStream nextPutAll: htmlString ]
The CSS file has to be adjusted a bit, but otherwise everything stays more or less the same as it did before. A success in my book, and a first step towards working on this blog from within Glamorous Toolkit.
Fin
In this blog post, we created this blog post. In the next installment, we will find out how to package the code so that it works for any blog post rather than just this one.
I hope reading this was entertaining, it certainly was entertaining to write. See you soon!